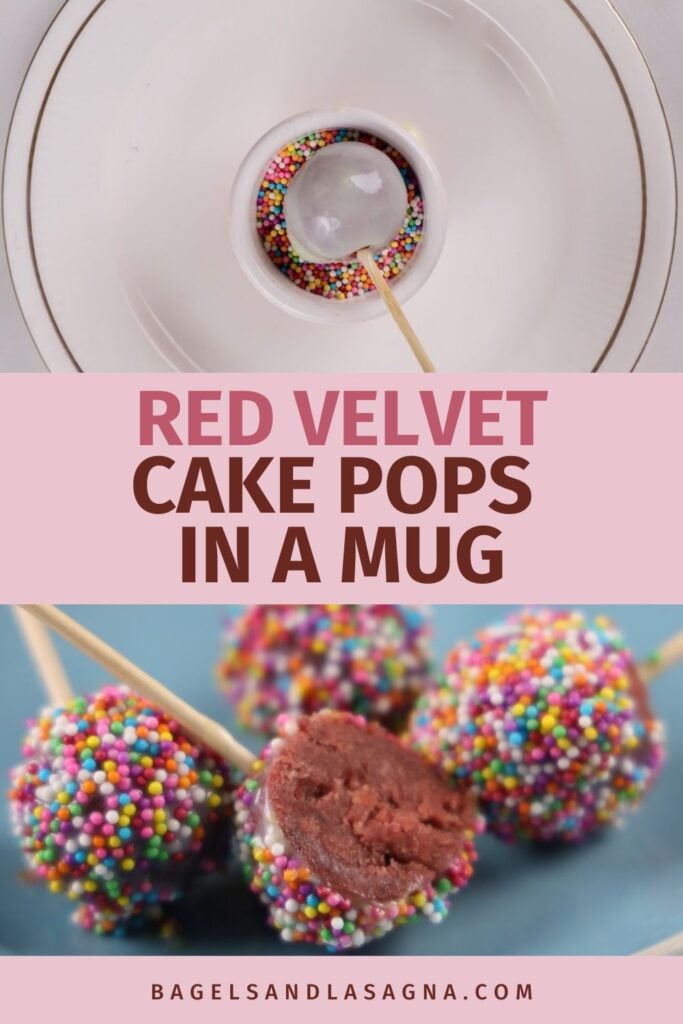
Red Velvet Cake Pops in a Mug
If you’ve ever seen or eated the adorable cake pops at Starbucks, you may have wondered how you could make them at home. Will I blow your mind when I tell you that these start as mug cakes that you make in the microwave? It’s true. Read on for how you can make them for Valentine’s Day or another love-filled day when you want a sweet treat.
How to Make Cake Pops in a Mug
This page may contain affiliate links, which means I may be compensated if you click a link. However, there is no cost to you. Also, as an Amazon Associate, I earn from qualifying purchases. For more info, please see my Privacy and Disclosure page.
This recipe for making cake pops in a mug includes a from-scratch way of making the red velvet cake mix. However, you are welcome to use a boxed cake mix if you’re tight on time or just find it overwhelming to make a cake from scratch.
Ingredients Overview

It may look like all of these ingredients are overwhelming to deal with. But keep in mind that there are three parts to making these cake pops:
- Red Velvet Cake
- Buttercream Frosting
- The Cake Pops

Step-by-Step Instructions
Let me lay out the instructions for all three parts of this recipe. The first section focuses on making the mug cakes in the microwave. The second section focuses on the buttercream frosting. Finally, the third section is forming the actual cake pops.
Mug Cake Instructions
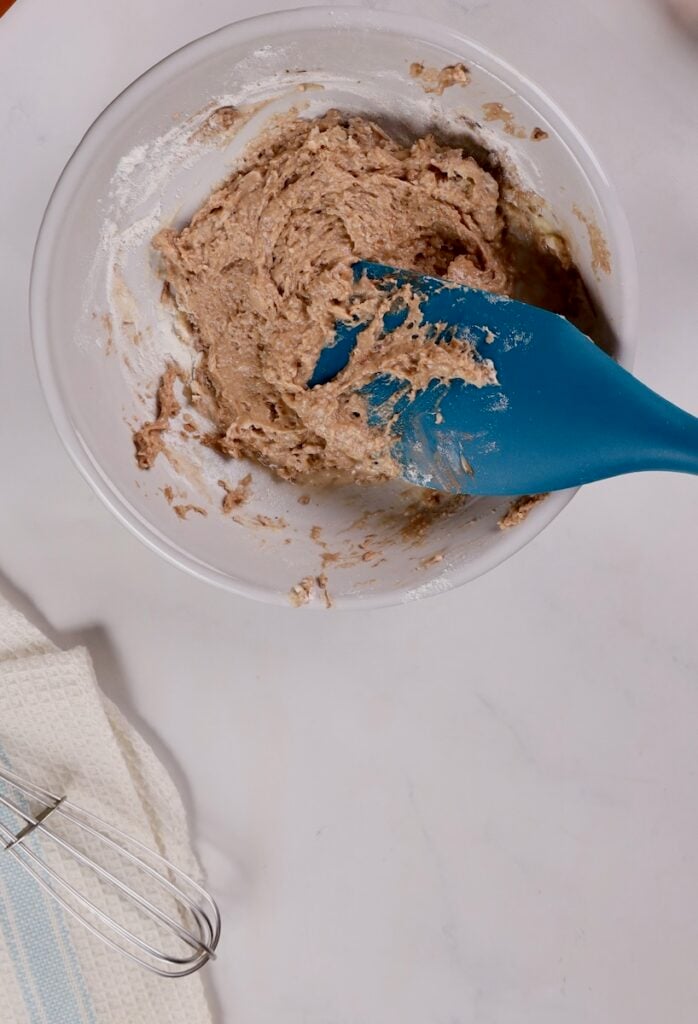
For the mug cakes, combine all of the cake mix ingredients together. The mixture will be a thick consistency.
Transfer the mixture to a cup that is microwave safe.

Microwave for 70 seconds to 1 minute or until you see the cake rise. Use a toothpick to ensure that the cake is cooked completely. It won’t look like a cake, per se, because it doesn’t rise as much in the microwave as it does in an oven. However, the toothpick will let you know if it is cooked through or not.

Once the cake is done, rest it and let it come to room temperature.
Buttercream Frosting Instructions
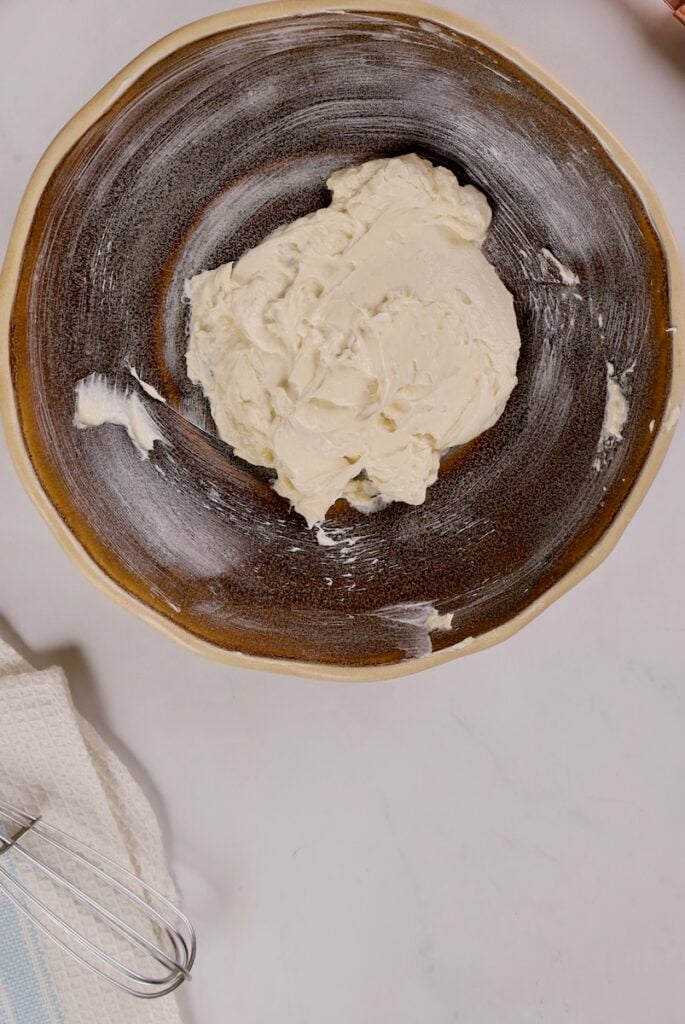
Take butter in a bowl and whisk it until it starts forming peaks. If you are using a hand whisk, then it will take you about 5 minutes. If you are using an electric whisk, it should be done in less than half the time. Add the sugar next and whisk again. It should turn into a smooth texture. Finally, add the milk and vanilla essence and whisk again. You should end up with a smooth textured frosting.
Making the Cake Pops
Once the cake is cooled enough, transfer it to a mixing bowl and crumble it. Add the prepared buttercream frosting.

Mix well in the bowl.

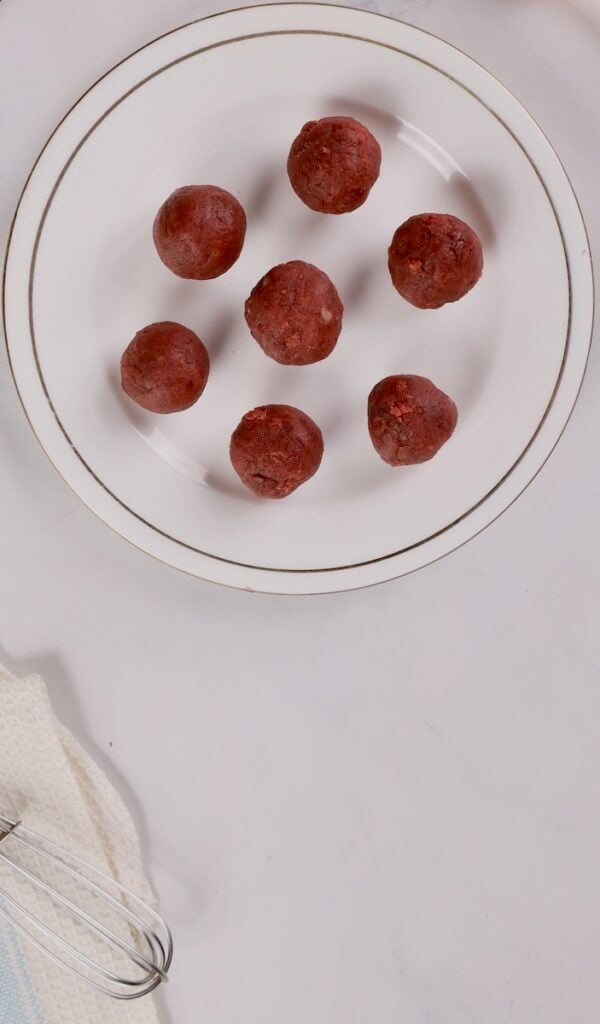
Take a small scoop and make round balls. Form in your hands if necessary. Set aside.
Break the bar of white baking chocolate into small pieces and melt in a microwave-safe bowl in 20-second increments, mixing until it is a smooth, creamy texture.

Use a bamboo/ wooden thin stick, dip it in the melted white chocolate and stick it into the prepared balls. Refrigerate for 10 minutes. For the next step, you’ll need to microwave another batch of white chocolate. Take the balls out of the refrigerator and dip them in melted white chocolate.

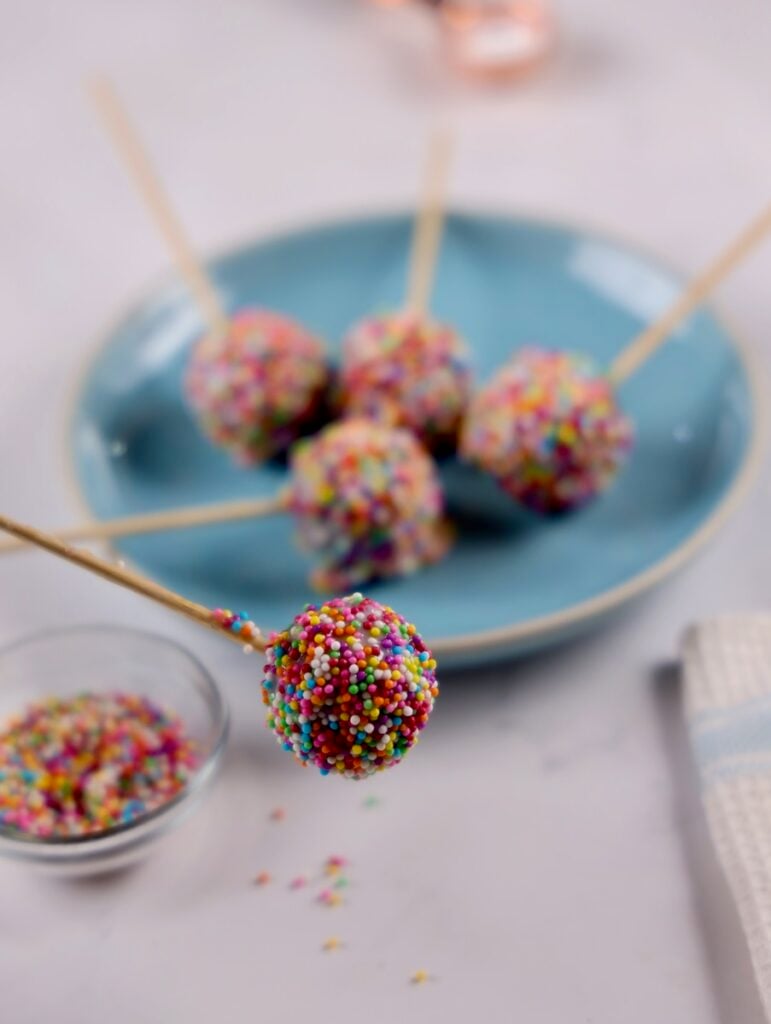
Immediately garnish with sprinkles.

You can place them top down on a baking sheet covered in parchment paper or, if you have Styrofoam or another way for them to stand up to dry, do that. Once you have dipped and garnished all the cake pops, refrigerate them for 15 minutes so the melted white chocolate sets and hardens.

Notes
- Do not overmix the cake mixture or your cake will not rise and will be dense in texture.
- It is always better to store the cake pops at room temperature. If you refrigerate and store them then condensation will start appearing on the surface.
- Do not make the ball size too big or else they will not stay on the stick. I prefer using a melon baller, which is what I used when making my cake mix cookies, too.
- If you decide to use a boxed cake mix to make the red velvet cake but still want to cook it in the microwave, be sure to add the apple cider vinegar to the mix. It will help the cake rise during the short cooking time in the microwave.
- If you don’t want to make frosting from scratch, you can always use a canned version.
- If I wanted to make cake pops fast, this is what I would do. Cook the cake mix from a box in mugs in the microwave — with the aforementioned addition of the apple cider vinegar. Then, I would mix in store-bought frosting to get to the point in the recipe where you’re making the balls for your cake pops.

Red Velvet Cake Pops in a Mug
Equipment
Ingredients
Red Velvet Cake
- 1/4 cup all purpose flour
- 2 tablespoons sugar
- 1 teaspoon cocoa powder
- 1/4 teaspoon baking powder
- 5 tablespoons milk
- 1/2 teaspoon apple cider vinegar
- 1 1/2 tablespoons butter melted
- 1 teaspoon red food coloring
Butter Cream Frosting
- 1/4 cup sugar
- 3 1/2 tablespoons butter room temperature
- 1 tablespoon milk
- 1/2 teaspoon vanilla essence or vanilla extract
Cake Pops
- 4 ounces white baking chocolate
Instructions
Making the Mug Cakes
- For the mug cakes, combine all of the cake mix ingredients together. The mixture will be a thick consistency.
- Transfer the mixture to a cup that is microwave safe.
- Microwave for 70 seconds to 1 minute or until you see the cake rise. Use a toothpick to ensure that the cake is cooked completely. It won't look like a cake, per se, because it doesn't rise as much in the microwave as it does in an oven. However, the toothpick will let you know if it is cooked through or not.
- Once the cake is done, rest it and let it come to room temperature.
Making the Buttercream Frosting
- Take butter in a bowl and whisk it until it starts forming peaks. If you are using a hand whisk, then it will take you about 5 minutes. If you are using an electric whisk, it should be done in less than half the time.
- Add the sugar next and whisk again. It should turn into a smooth texture.
- Add the milk and vanilla essence and whisk again. You should end up with a smooth textured frosting.
Making the Cake Pops
- Once the cake is cooled enough, transfer it to a mixing bowl and crumble it.
- Add the prepared buttercream frosting. Mix well in the bowl.
- Take a small scoop and make round balls. Form in your hands if necessary. Set aside.
- Break the bar of white baking chocolate into small pieces and melt in a microwave-safe bowl in 20-second increments, mixing until it is a smooth, creamy texture.
- Use a bamboo/ wooden thin stick, dip it in the melted white chocolate and stick it into the prepared balls. Refrigerate for 10 minutes.
- You may need to microwave another batch of white chocolate as you get ready to take the balls out of the refrigerator. Dip them in melted white chocolate.
- Immediately garnish with sprinkles.
- You can place them top down on a baking sheet covered in parchment paper or, if you have Styrofoam or another way for them to stand up to dry, do that. Once you have dipped and garnished all the cake pops, refrigerate them for 15 minutes so the melted white chocolate sets and hardens.
Notes
- Do not overmix the cake mixture or your cake will not rise and will be dense in texture.
- It is always better to store the cake pops at room temperature. If you refrigerate and store them then condensation will start appearing on the surface.
- Do not make the ball size too big or else they will not stay on the stick. I prefer using a melon baller, which is what I used when making my cake mix cookies, too.
- If you decide to use a boxed cake mix to make the red velvet cake but still want to cook it in the microwave, be sure to add the apple cider vinegar to the mix. It will help the cake rise during the short cooking time in the microwave.
- If you don’t want to make frosting from scratch, you can always use a canned version.
- If I wanted to make cake pops fast, this is what I would do. Cook the cake mix from a box in mugs in the microwave — with the aforementioned addition of the apple cider vinegar. Then, I would mix in store-bought frosting to get to the point in the recipe where you’re making the balls for your cake pops.
Nutrition
Disclaimer
Please note that nutrient values, if included with the recipe, are estimates only. Variations can occur due to product availability/substitution and manner of food preparation. Nutrition may vary based on methods of origin, preparation, freshness of ingredients, and other factors.