How to Freeze Cooked Rice
We love cooking rice in our Instant Pot. It’s an easy way to make a week’s worth of rice for ourselves — and, let’s be honest, for our dogs, too. But we often end up with more than we can eat before it could possibly go bad in the refrigerator. That’s why we taught ourselves how to freeze cooked rice and why we want to teach you how to do it, too.
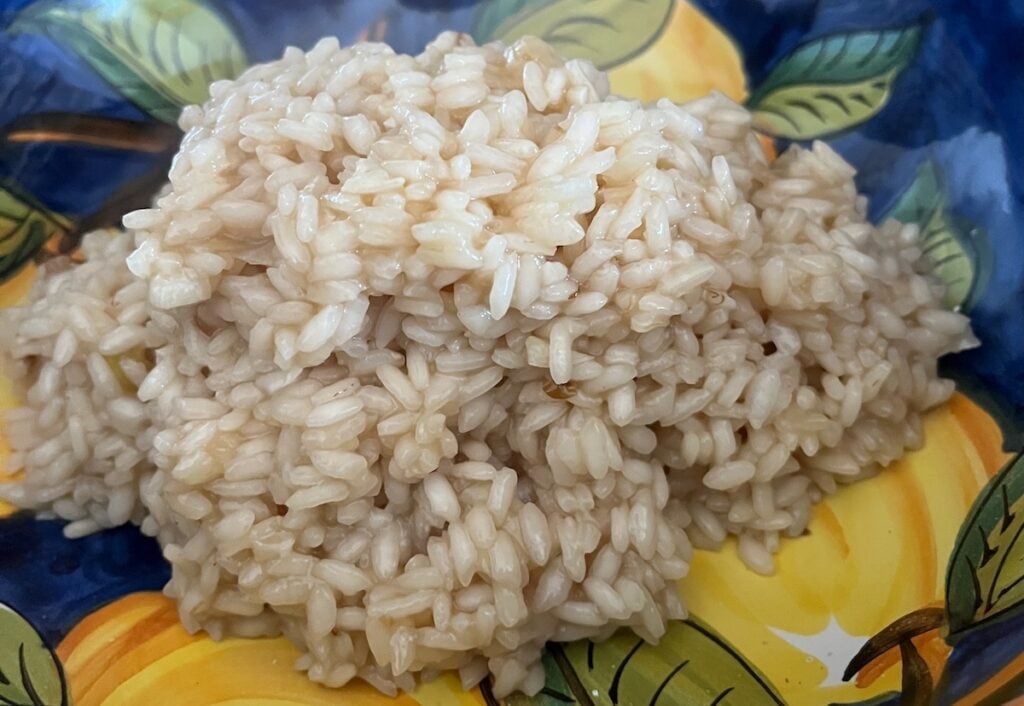
Preparing the rice for freezing
This page may contain affiliate links, which means I may be compensated if you click a link. However, there is no cost to you. Also, as an Amazon Associate, I earn from qualifying purchases. For more info, please see my Privacy and Disclosure page.
This guide to freezing rice covers everything from cooking methods to storage and reheating tips. Because when it comes to freezing rice, it isn’t just about putting it in a storage container and calling it a day. There are right and wrong ways to do this and if you follow these simple steps, you’ll be sure to retain your rice’s flavor and texture so it is delicious when you reheat it down the road.

Cooking the rice
To start, cook the rice according to package directions. Different types of rice, such as white, brown, jasmine, basmati or wild rice, have slightly different water ratios and cooking times. So be sure to follow the instructions. You can cook it on the stovetop, in a rice cooker or, as I mentioned earlier that we do, a pressure cooker like an Instant Pot.
Cooling the rice
Regardless of which method you use to cook the rice, here’s a critical post-cooking step: once the rice is cooked, fluff it with a fork to help release steam and prevent clumping. Then, spread the rice evenly on a baking sheet to let it cool to room temperature. This will help avoid ice crystals when you do eventually freeze the rice.
Packing and freezing
Silicone storage bags are a great, eco-friendly option for storing your cooked rice. It’s best to portion out rice before freezing so you can grab and make only as much as you need. Try portioning in one-cup or two-cup amounts and then labeling the bags with not only the amount inside but also the date you packaged it. You should use up frozen rice within six months of freezing.
Press out as much air as possible before sealing to avoid freezer burn. Also, this lets the rice settle into a thin, flat layer, which makes it easier to stack bags in your freezer and will make reheating easier on the other end.
“I love using frozen rice because it’s a huge time-saver,” says Kristin King of Dizzy Busy and Hungry. “I can make a big batch, freeze it in portions and then reheat it quickly whenever I need it, which is perfect for busy nights.”
Reheating frozen rice
When it comes time to reheat the frozen rice, you have a number of options. Here are a few to consider. Note: remove the rice from your storage bags before reheating.
- Microwave method: Place the frozen rice in a microwave-safe bowl. You don’t need to thaw it in advance. Add a few teaspoons of water to help steam and rehydrate the rice. Cover to trap the steam and heat on high for one to three minutes. The rice should be hot and fluffy when done.
- Stovetop method: Place the rice in a small pot or saucepan. Add a few tablespoons of water, then cover with a lid. Set the heat to low, stirring occasionally to break up any clumps. Once the rice is hot and fluffy, it’s ready to serve.
- Steamer method: Place a steamer basket over a pot of boiling water. Add the rice to the basket, cover and steam for about five to 10 minutes, depending on the amount. Stir once or twice during steaming to ensure it heats evenly.
Tips for using frozen rice
Frozen rice is versatile and can be used in a variety of dishes. Here are some ideas:
- Quick lunches and dinners: Add the rice to stir-fries, burritos or grain bowls. We use rice in a number of recipes, including Easy Chicken Enchilada Rice Casserole and Cheesy Sausage and Rice Casserole.
- Soups and stews: Rice adds texture and substance to soups and stews. You can add it directly to the pot without thawing.
- Breakfast bowls: Use the rice as a base for savory breakfast bowls with vegetables and a fried egg.
Portions of this article originally appeared on Food Drink Life.